The key to getting great prints, especially large prints is to have the photo prepared properly for printing. People use lots of tools to edit or collect their photos and with a little tuning you can make your images very print ready.
In this article, I’m going to use the Photos application that comes pre-installed on Macintosh computers (at no charge) for my examples. Any software or computer you use will have similar functions.
We should prepare our images by cropping them to fit the print size that we order. 8 x 10 inch has long been a very popular print size, but it does not match the aspect ratio of most modern cameras. In your software, while preparing your image for printing, crop it to the aspect ratio that best suits the print size that you will order.
Most printers indicate that they will not be responsible for cropping decisions, so that you get what you expect. Aspect ratios simply represent the ratio of short side to long side. For example, most cameras today will produce images with a 2:3 aspect ratio. That’s why a 4 x 6 inch print shows everything in the image; it has the same aspect ratio. However, an 8 x 10 inch print has an aspect ratio of 4:5 and this crops the long side in a common photo. Your software will show you this on screen and you can then choose whatever crop you want.
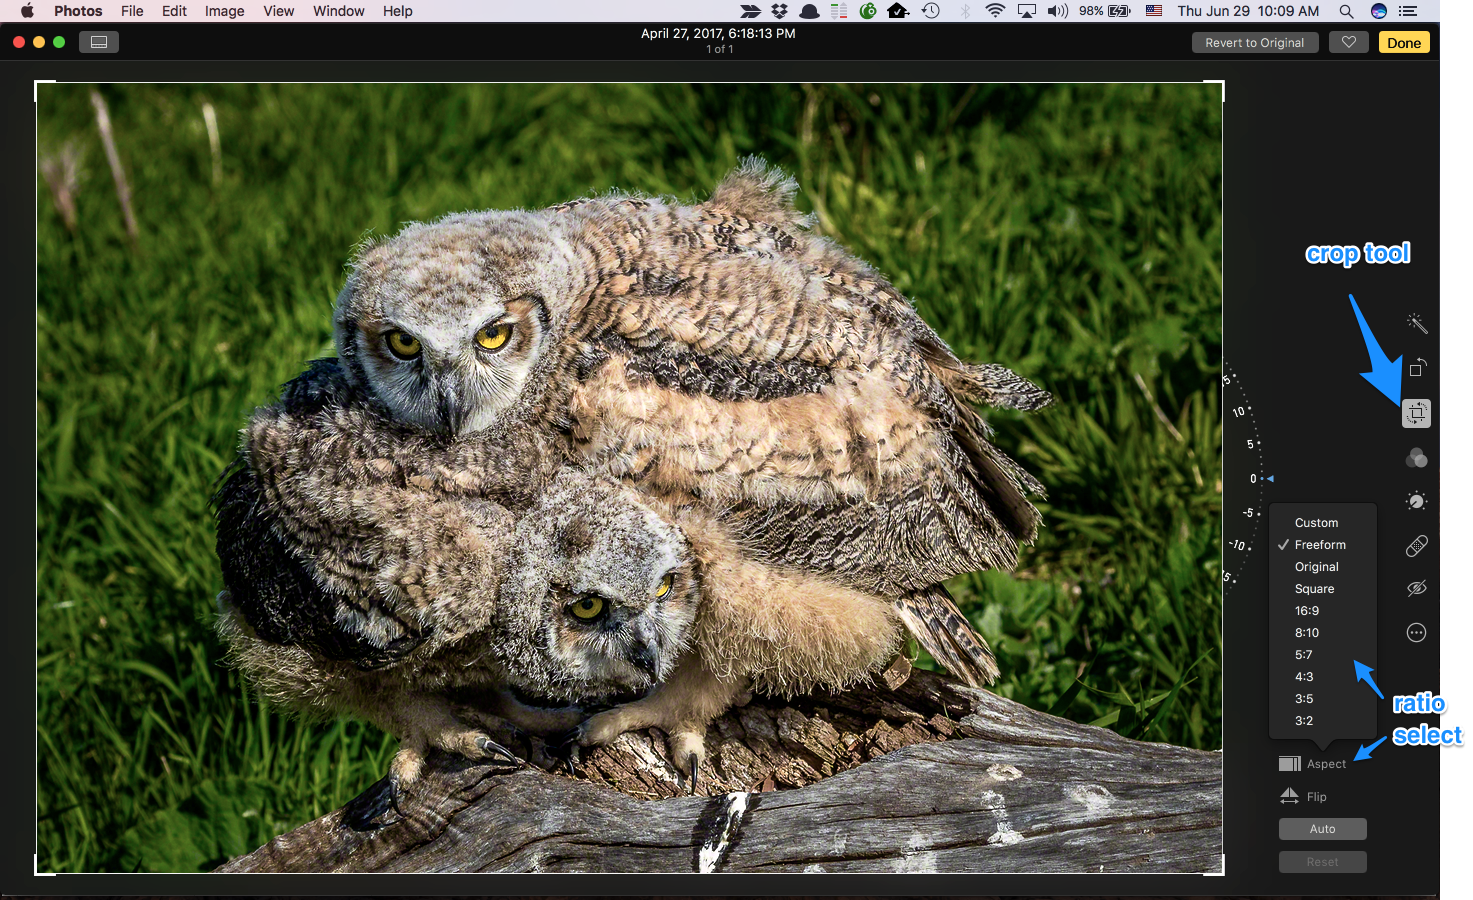
In this first image, we see the use of the crop tool and the ability to select an aspect ratio. As you can see, it is very straightforward and many tools use specific print sizes as a way to help you pick the best aspect ratio.
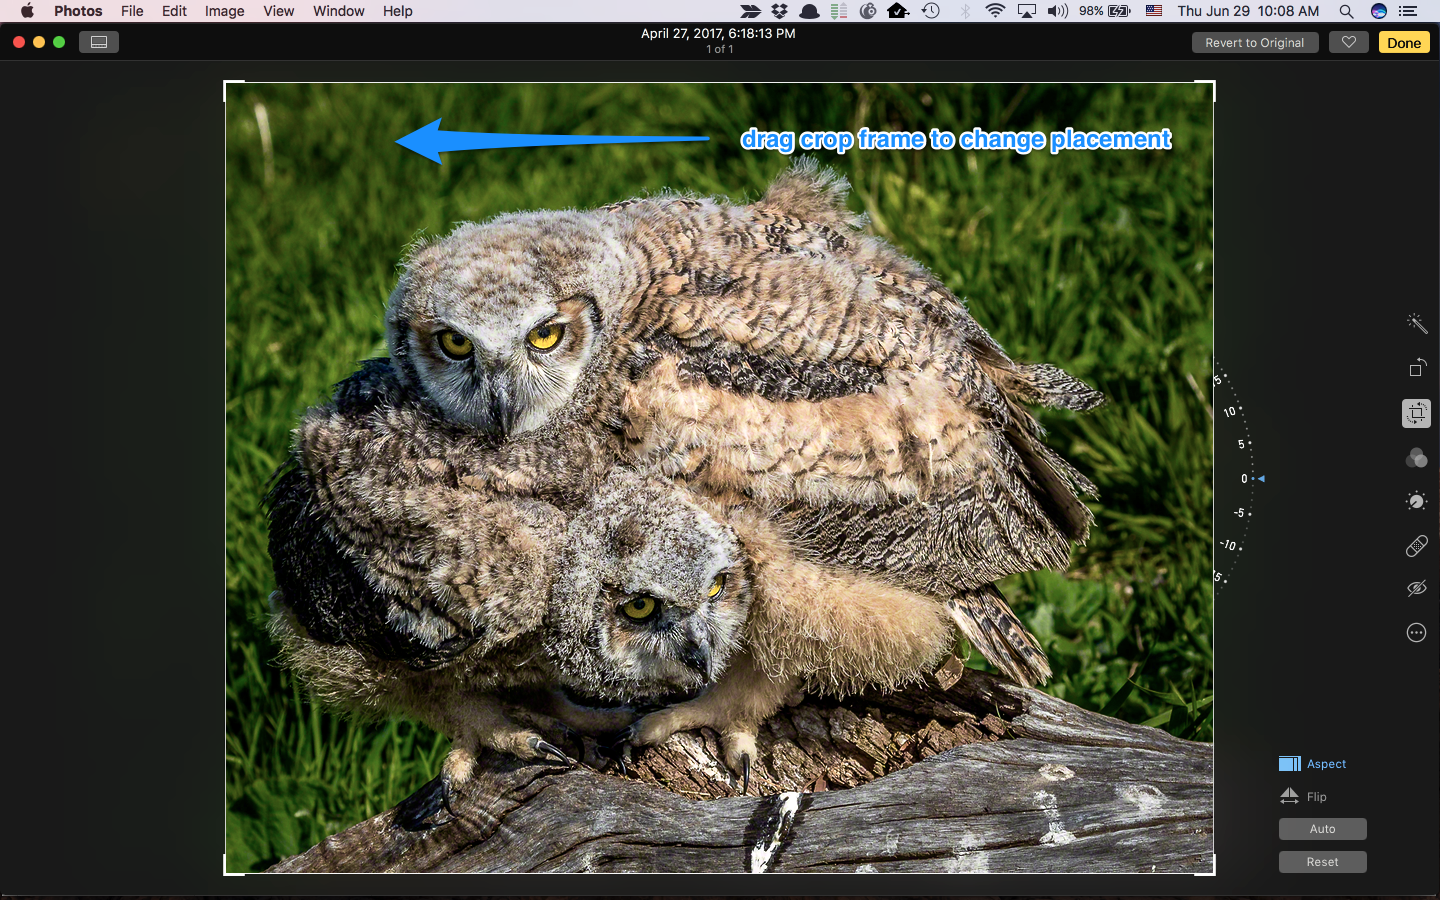
In this image, I selected the 8 x 10 inch option and then dragged the crop frame to align the cropping the way that I wanted it.
Read More at : https://blog.henrys.com/preparing-photos-for-printing/